Configure SAML single sign-on with Okta
You can configure your ExtraHop system to enable users to log in to the system through the Okta identity management service.
Before you begin
- You should be familiar with administering Okta. These procedures are based on the Okta Classic UI. If you are configuring Okta through the Developer Console, the procedure might be slightly different.
- You should be familiar with administering ExtraHop systems.
These procedures require you to copy and paste information between the ExtraHop system and the Okta Classic UI, so it is helpful to have each system open side-by-side.
Enable SAML on the ExtraHop system
- Log in to the Administration settings on the ExtraHop system through https://<extrahop-hostname-or-IP-address>/admin.
- In the Access Settings section, click Remote Authentication.
- From the Remote authentication method drop-down list, select SAML.
- Click Continue.
- Click View SP Metadata. You will need to copy the ACS URL and Entity ID to paste into the Okta configuration in the next procedure.
Configure SAML settings in Okta
This procedure requires you to copy and paste information between the ExtraHop Administration settings and the Okta Classic UI, so it is helpful to have each UI open side-by-side.
-
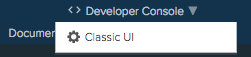
In the upper-right corner of the page, change the view from
Developer Console to Classic
UI.
-
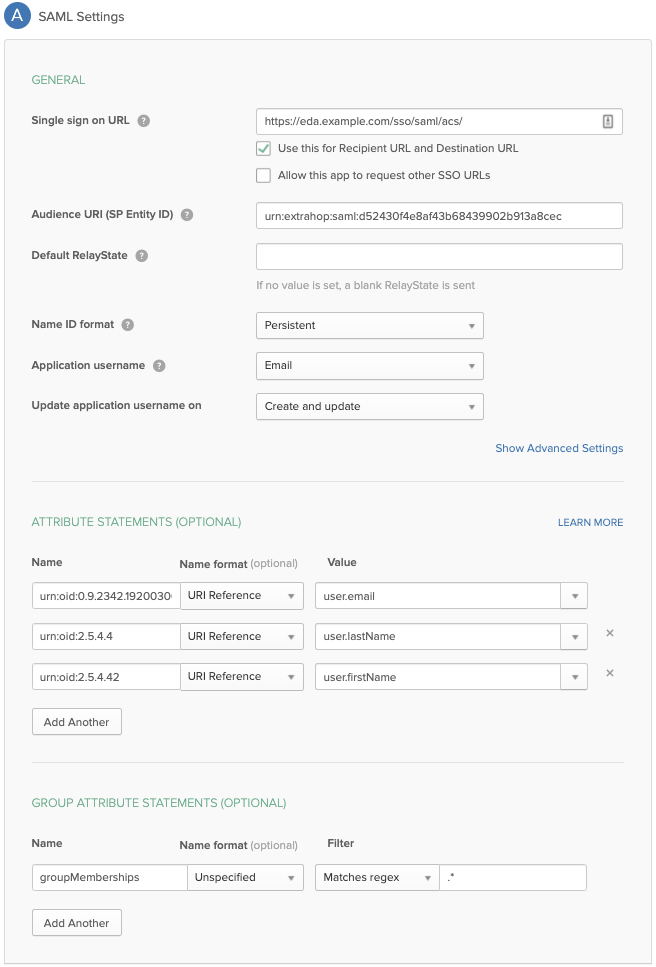
In the Group Attribute Statement section, type a string in
the Name field and configure a filter. You will specify the
group attribute name when you configure user privilege attributes on the
ExtraHop system.
The following figure shows a sample configuration.
Assign the ExtraHop system to Okta groups
We assume that you already have users and groups configured in Okta. If you do not,
refer to the Okta documentation to add new users and groups.
- From the Directory menu, select Groups.
- Click the group name.
- Click Manage Apps.
- Locate the name of the application you configured for the ExtraHop system and click Assign.
- Click Done.
Add identity provider information on the ExtraHop system
-
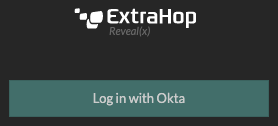
Type a unique name in the Provider Name field. This name appears on the
ExtraHop system login page.
-
Configure user privilege attributes. You must configure the following set of
user attributes before users can log in to the ExtraHop system through an
identity provider. Values are user-definable; however, they must match the
attribute names that are included in the SAML response from your identity
provider. Values are not case sensitive and can include spaces. For more
information about privilege levels, see Users
and user groups.
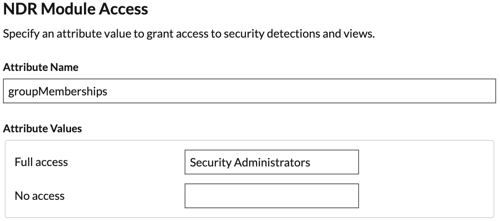
Important: You must specify the attribute name and configure at least one attribute value other than No access to enable users to log in. In the examples below, the Attribute Name field is the group attribute configured when creating the ExtraHop application on the identity provider and the Attribute Values are the names of your user groups. If a user is a member of more than one group, the user is granted the most permissive access privilege.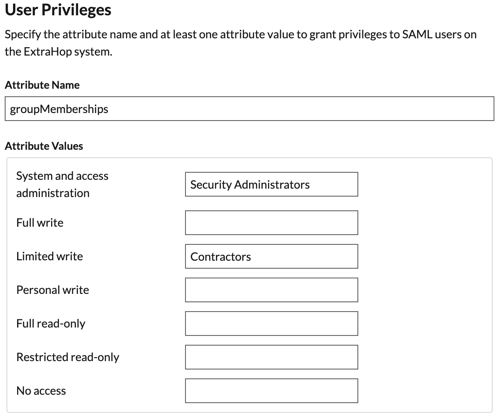
-
Configure NDR module access.
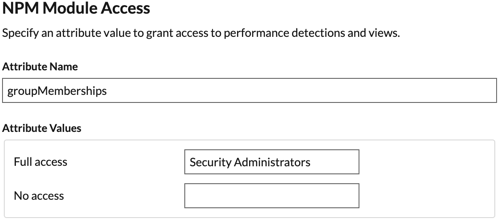
-
Configure NPM module access.
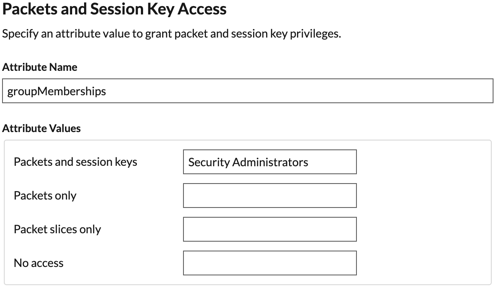
- (Optional):
Configure packets and session key access. This step is optional and is only
required when you have a connected packetstore and the Packet Forensics
module.
Thank you for your feedback. Can we contact you to ask follow up questions?