Configure RSPAN with VMware
The Remote Switched Port Analyzer (RSPAN) enables you to monitor traffic on one switch through a device on another switch and then send the monitored traffic to one or more destinations.
Before you begin
- You must have experience with basic VMware ESX and ESXi administration through the VMware vSphere Web Client.
- You must have an uplink port (HW NIC) attached to the switch (preferably one that is not designated for general network traffic).
- Direct access to the iDRAC console is preferred.
For information about configuring the VMware vSphere server, see the Working with Port Mirroring section in the ESXi and vCenter documentation for your version of VMware.
For information about configuring VMware with an ExtraHop sensor, see Deploy the ExtraHop sensor on VMware.
The following steps outline the key procedures that are required to configure RSPAN with VMware for an ExtraHop sensor. Note that procedures in these steps might vary between versions of VMware.
| Note: | While these steps are required for RSPAN configuration, most deployments have completed the first four steps prior to installing the sensor. If you have an existing Virtual Distributed Switch, start with step 5. |
Create a virtual distributed switch
Complete the following steps to create a virtual distributed switch (VDS). The VDS carries traffic from your virtual machines (VM) to your physical network and to other VMs.
-
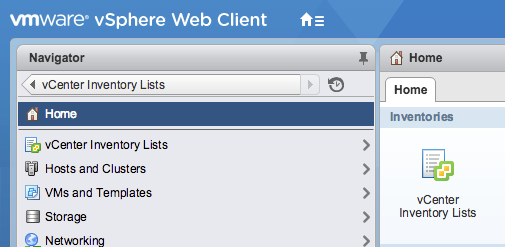
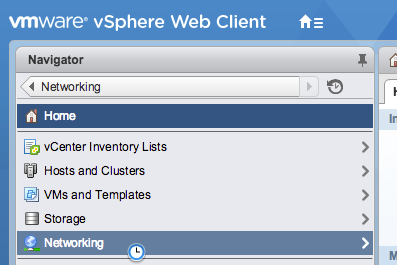
Click vCenter Inventory Lists.
-
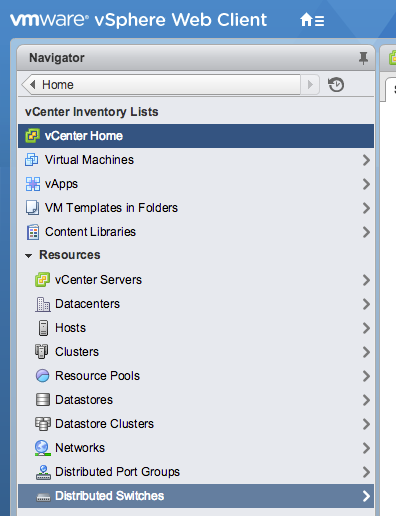
In the left panel, click Distributed Switches.
-
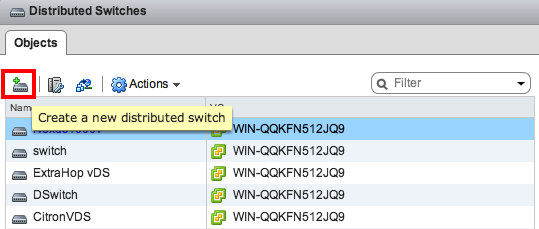
Above the list of switches, click the Create a new distributed
switch icon.
-
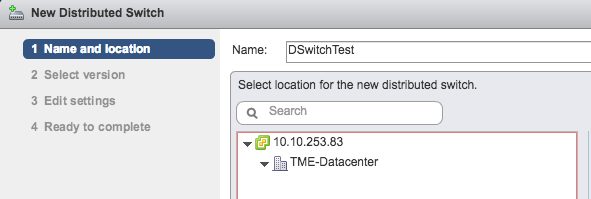
In the New Distributed Switch window, type a name for the
switch, select the destination data center or network folder, and then click
Next.
-
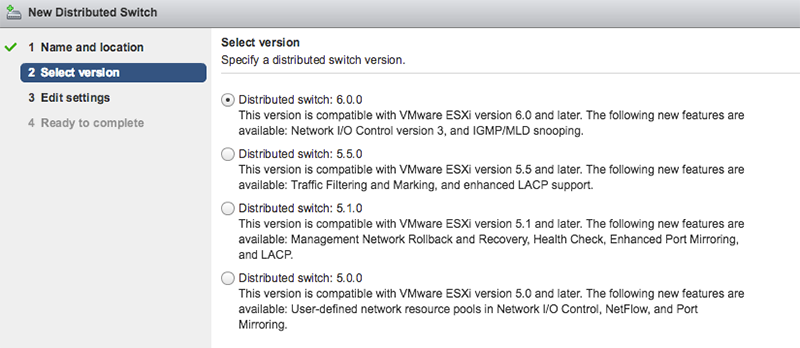
Select the distributed switch version and click
Next.
-
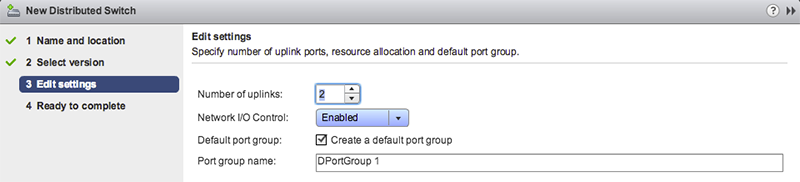
Edit the following settings:
Add port groups to the VDS
Complete the following steps to add port groups when you deploy a new virtual machine or add a new ESX host into your VDS environment. Port groups enable you to properly associate the new machine or host to the port group that is being monitored immediately.
-
Click on Networking.
-
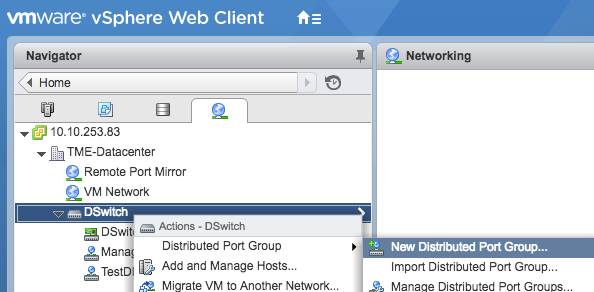
Right-click the VDS and then select New Distributed Port
Group.
-
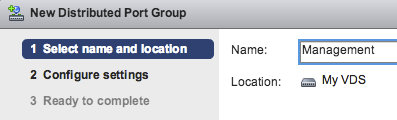
In the New Distributed Port Group window, type a name for
the port group and click Next.
-
Configure the following settings:
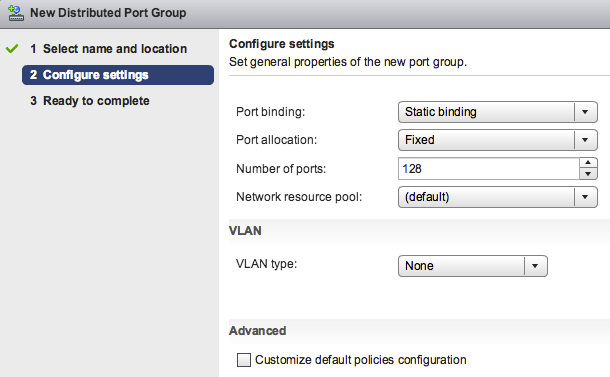
- Click the Port binding drop-down list and select Static binding.
- Click the Port allocation drop-down list and select Fixed.
- In the Number of ports field, type the number of ports you want to connect.
- Leave the default settings for the remaining items.
- Click Next.
-
Verify your settings and click Finish.
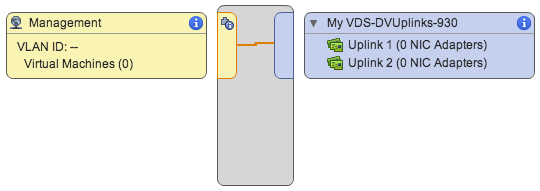
The new port group appears on the Manage tab.
Add a host to the VDS
Complete the following steps to add a host to the VDS. Skip this procedure if all hosts have already been added to the cluster. We recommend that you dedicate one uplink for management and one uplink for spanning.
-
Click Networking.
-
In the Add and Manage Hosts dialog box, click the
Add Hosts radio button and click
Next.

-
Click the plus icon
 to add a host.
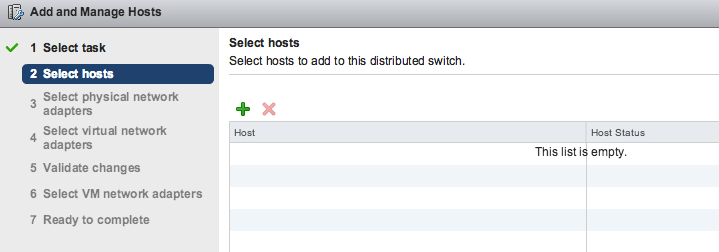
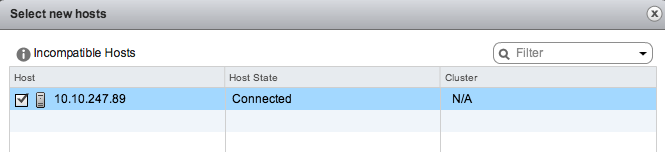
-
In the list of available hosts, select the checkbox next to the host and click
OK.
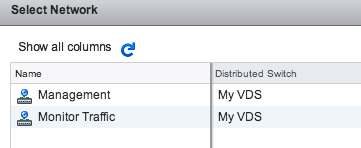
-
In the Select Network pop-up window, select the port group
to assign to the network adapter for monitoring.
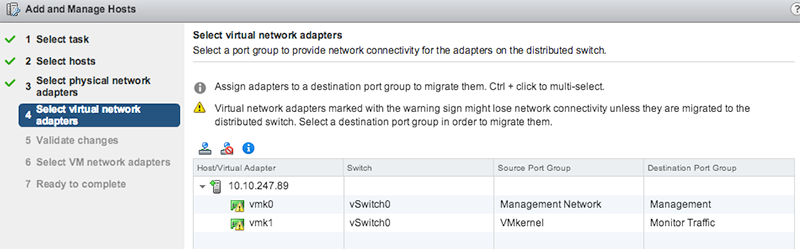
-
After you have assigned each adapter to a Destination Port
Group (in the far right column), click
Next.
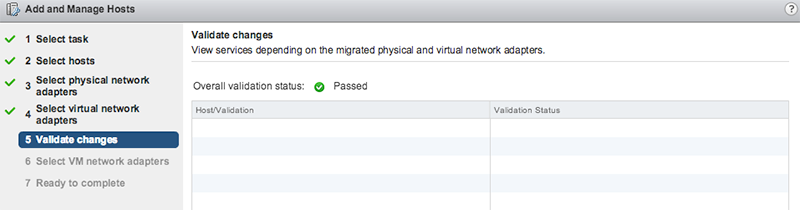
-
On the Validate Changes screen, verify that the status has
passed and click Next.
-
Select the Migrate Virtual Machine Networking checkbox.

-
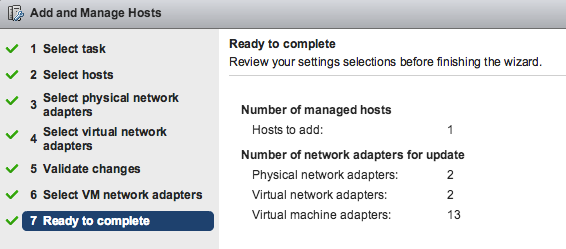
Verify your settings and click Finish.
-
View the progress bar in the right panel and wait for the system to add the
host.
The following figure shows an example configuration.
Add uplink ports to the VDS
Complete the following steps to add an uplink port to the VDS. You must assign one uplink port to the VDS for each associated host.
- Browse to a host in the vSphere Web Client.
-
Click the Manage tab, and then select .

- From the list, select the distributed switch you want to add an uplink port to.
-
Click Manage the physical network adapters
 .
.
-
Click Add
.
- From the list, select a network adapter and then select the uplink port from the drop-down menu that you want to assign to the network adapter.
- Click OK.
Configure an RSPAN port mirror
Complete the following steps to configure an RSPAN port mirror to view traffic on the VDS, to configure the local switch to view external traffic, and to configure the virtual Discover appliance to do a combination of both. The virtual Discover appliance can be deployed in environments with multiple ESX servers connected with a virtual distributed switch (VDS).
Complete the following steps to configure a virtual Discover appliance as the destination for one or more RSPAN mirror sessions. The RPSAN mirror sessions can originate from either a virtual distributed switch (VDS) that mirrors local VM traffic or from a physical switch that mirrors external traffic.
The following steps are for a Discover appliance deployed on an ESX host that is managed by vCenter with a configured VDS. You must connect a local switch to an uplink port that is configured as a VLAN trunk port and that carries the RSPAN VLAN traffic. The RSPAN VLAN will carry the mirrored traffic and can span multiple switches to reach the virtual Discover appliance.
The following figure illustrates the port mirror setup.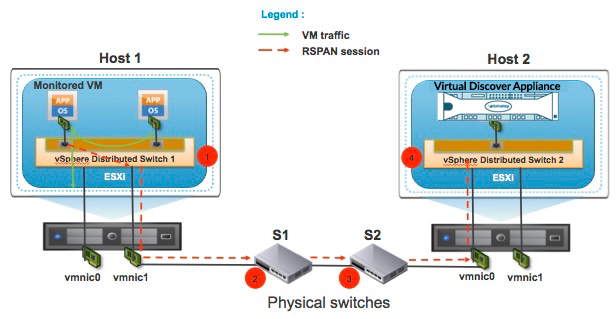
- Click on Networking.
- Select your VDS and ensure that the Settings tab is selected.
-
Click Port mirroring.
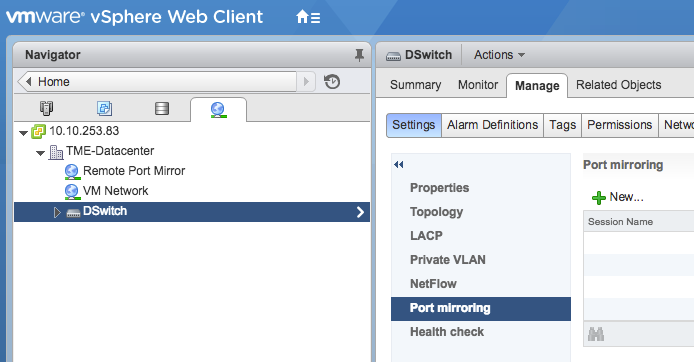
- Click New....
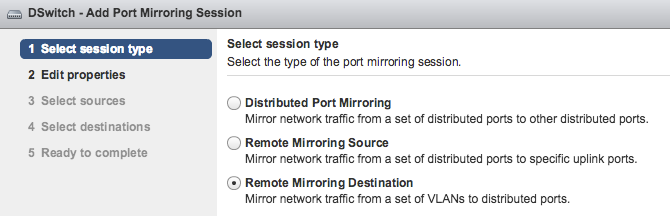
-
In the Add Port Mirroring Session wizard, select Remote Mirroring
Destination, and then click Next.
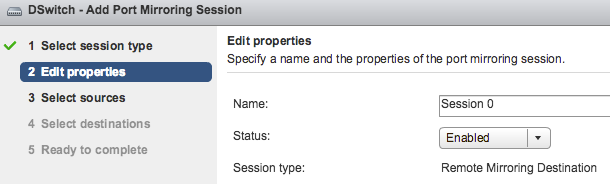
- In the Name field, type a name to identify the port mirroring session.
- From the Status drop-down, select Enabled.
-
Click Next.
-
Click the plus icon to add the source VLAN IDs that you want to monitor, and then click
Next.
- Specify the destination port where you want to send mirrored traffic. This port is the virtual port on the VDS that corresponds to the monitoring interface on your virtual Discover appliance.
- Verify the summary information and then click Finish to add the port mirror.
Thank you for your feedback. Can we contact you to ask follow up questions?