Configure the iDRAC Remote Access Console
If your ExtraHop system is deployed in a data center or other remote environment, you might need to access the console and power-management features through a remote connection. Remote access is available on the ExtraHop system through the Integrated Dell Remote Access Controller (iDRAC). After you enable and configure iDRAC, you can power cycle the system, view console messages, and review hardware monitoring and boot logs.
The iDRAC interface is enabled by default on all ExtraHop appliances, except the EDA 1200, which does not have an iDRAC interface. You can download updates for the iDRAC controller firmware from the Dell Technologies website.
| Note: | The steps and menu options to change settings can vary by iDRAC version. |
Accessing the iDRAC
-
Highlight iDRAC and press the checkmark button.

-
Highlight IP and press the checkmark button.

-
Write down the IP address that appears on the LCD.

-
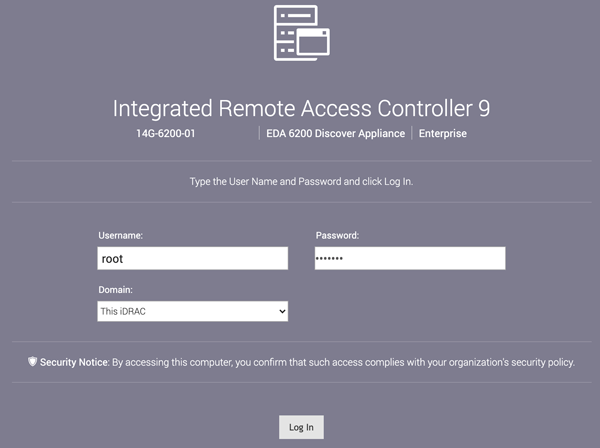
In a web browser, type the IP address, and log in with the username
root and the password, which is the service tag
number listed in the screen or on the pullout at the front of the appliance. The
password is case-sensitive.
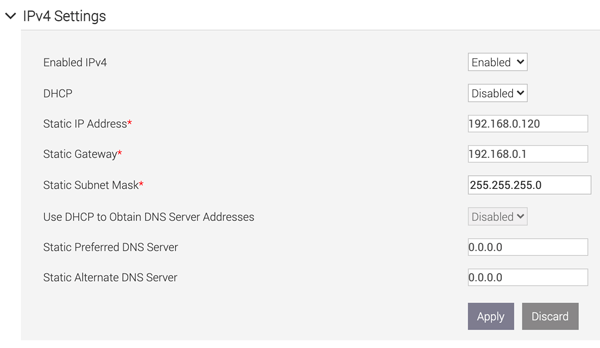
Configuring the iDRAC with a static IP address
-
In the Static IP Address field, type the IP address that
you want to configure for remote access to your ExtraHop system.
Set a secure password
The iDRAC password is configured by default with the service tag number on the pullout at the front of the ExtraHop appliance. You should change the default password to a more secure password that you choose.
Update the iDRAC firmware
To take advantage of iDRAC firmware enhancements, you can update the iDRAC controller firmware. The iDRAC controller firmware is not updated when you upgrade the ExtraHop system firmware.
| Important: | This procedure requires that you shut down the appliance to complete the update process. |
- Follow the instructions on the Dell Technologies website to update the firmware.
- Log in to the Administration settings on the ExtraHop system through https://<extrahop-hostname-or-IP-address>/admin.
- In the Appliance Settings section, click Shutdown or Restart, and then click Shutdown.
- Log in to the iDRAC web interface.
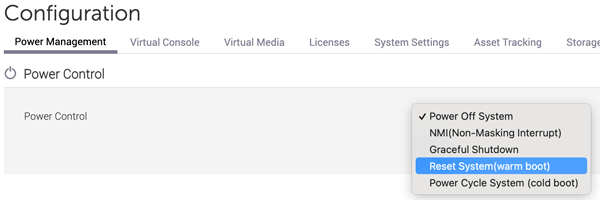
- On the Dashboard page, select Power On System.
Thank you for your feedback. Can we contact you to ask follow up questions?