Integrate RevealX 360 with Splunk Enterprise Security SIEM
This integration enables the Splunk Enterprise Security SIEM to export detection data from the ExtraHop system through detection notification rules. You can view exported data in the SIEM to gain insight into security threats in your environment and to accelerate response times.
This integration requires you to complete two tasks. An ExtraHop administrator must configure the connection between the SIEM and the ExtraHop system. After the connection is established, you can create detection notification rules that will send webhook data to the SIEM.
After the connection is established and notification rules are configured, you can install the ExtraHop RevealX App for Splunk on your Splunk SIEM. The app provides a dashboard of detection data and correlation rules that generate detection alerts in Splunk.
Before you begin
You must meet the following system requirements:
- ExtraHop RevealX 360
- Your user account must have System Administration privileges.
- Your RevealX 360 system must running firmware version 9.8 or later.
- Your RevealX 360 system must be connected to ExtraHop Cloud Services.
- Splunk
- You must have Splunk Enterprise version 9.1 or later
- You must configure a Splunk Enterprise HEC connector for data ingest.
- Your SIEM must be able to receive webhook data. You can add static source IP addresses to your security controls to allow requests from RevealX 360.
-
Click the System Settings icon
 and then click
Integrations.
and then click
Integrations.
Create a detection notification rule for a SIEM integration
Before you begin
- Your user account must have NDR module access to create security detection notification rules.
- Your user account must have NPM module access to create performance detection notification rules.
- You can also create detection notification rules from System Settings. For more information, see Create a detection notification rule.
-
Click the System Settings icon and then click
Integrations.
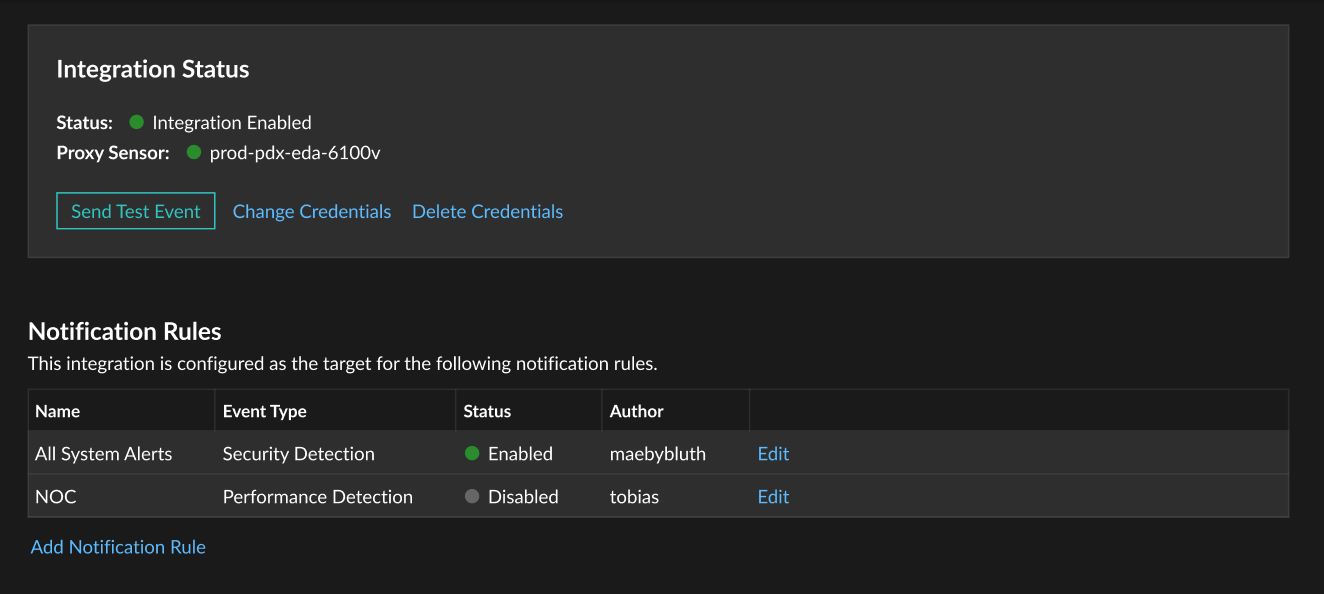
Next steps
- Navigate back to the integration configuration page to check that your rule has been created and added to the table.
- Click Edit to modify or delete a rule.
Thank you for your feedback. Can we contact you to ask follow up questions?