Deploy Reveal(x) Ultra in AWS

In this guide, you will learn how to deploy the ExtraHop Reveal(x) Ultra sensor through AWS Marketplace.

System requirements

Make sure you have everything you need to successfully deploy the sensor:

  • An AWS account
  • An ExtraHop Reveal(x) Ultra license or product key
  • A VPC where the sensor will be deployed
  • Two ENI subnets. One subnet to access the management interface of the sensor and one subnet that will forward traffic to the sensor

Deploy the sensor

  1. Log in to your AWS Management Console.
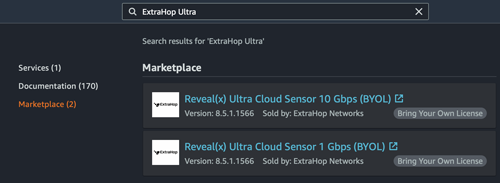
  2. Search for ExtraHop Ultra sensors in Marketplace.
  3. Click one of the following sensor names:
    • Reveal(x) Ultra Cloud Sensor 1 Gbps (BYOL)
    • Reveal(x) Ultra Cloud Sensor 10 Gbps (BYOL)
  4. Click Continue to Subscribe.
  5. Read the ExtraHop Terms and Conditions, and then click Accept Terms.
  6. After the subscription process completes, click Continue to Configuration.
  7. Select CloudFormation Template from the Delivery Method drop-down list.
  8. Select one of the following CloudFormation templates from the drop-down list:
    • Single sensor with ENI as traffic mirror target
    • Single sensor with NLB as traffic mirror target
  9. Select a firmware version from the Software Version drop-down list.
  10. Select your AWS region from the Region drop-down list.
  11. Click Continue to Launch.
  12. On the Launch this software page, under Choose Action, select Launch CloudFormation.
  13. Click Launch.
  14. On the Create stack page, click Next.
  15. On the Specify stack details page, type a name in the Stack name field to identify your instance in AWS.
  16. In the Network configuration section, configure the following fields:

    VPCID: Select the VPC where the sensor will be deployed

    MgmtSubnetID: Select the subnet where the management ENI will be deployed

    CaptureSubnetID: Select the subnet where the data capture ENI will be deployed

    RemoteAccessCIDR: Type a CIDR IP range to restrict user access to the instance. We recommend that you configure a trusted IP address range.

  17. In the ExtraHop configuration section, select one of the following options for the PublicIP field:
    • Select false if you do not want a public-facing IP address.
    • Select true if you want the sensor available to users through the public internet.
  18. (Optional): In the Other parameters section, type an AMI ID for the source instance.
  19. Click Next.
  20. Add one or more tags in the Tags section and then click Next.
  21. Review your configuration settings and then click Create stack.
  22. Wait for the creation to complete and then click the Outputs tab.
  23. Copy the SocSensorPublicCredentials value. This is the setup user password required to log in to the ExtraHop system. Click the EDAPublicAccess value URL to go to the sensor Administration settings page.

Next steps

  • Register your ExtraHop system
  • Configure the sensor network interfaces by clicking Connectivity in the Administration settings. Ensure that Management Port is selected on Interface 1. For Interface 2, choose one of the following options:
    • For the 1 Gbps sensor, select Management + RPCAP/ERSPAN/VXLAN Target.
    • For the 10 Gbps sensor, select High-Performance ERSPAN/VXLAN Target.
    Important:If your deployment includes a Command appliance or Reveal(x) 360, the following workflow ensures the best performance for initial device synchronization. First, connect all sensors to the Command appliance or Reveal(x) 360, then configure network traffic forwarding to the sensors.
  • Complete the recommended procedures in the post-deployment checklist.
Last modified 2023-11-07