Specify network localities and trusted domains
By providing details about your network specifications, you can improve the metrics and detections generated by your ExtraHop system. The Network Localities page enables you to specify internal and external IP addresses and add trusted domains that your devices regularly connect to.
Here are some important considerations about these settings:
- If your ExtraHop deployment includes a console, we recommend that you transfer management of all connected sensors to the console.
- For ExtraHop Reveal(x) 360, these settings are synchronized across all connected sensors. You should not configure these settings on individual sensors.
- For ExtraHop Reveal(x) Enterprise, when you transfer management to a connected console, these settings are synchronized across all sensors. Otherwise, network locality settings must be configured on all sensors and consoles.
- You must have full write privileges to change these settings.
| Video: | See the related training: Configure Network Localities |
Specify a network locality
Network localities enable you to classify traffic from IP addresses and CIDR blocks as internal or external to your network. You can also specify a name for each locality such as "DMZ" or "guest network" and filter by that name in devices and records.
- Log in to the ExtraHop system through https://<extrahop-hostname-or-IP-address>.
-
Click the System Settings icon
 and then click Network
Localities.
and then click Network
Localities.
- Click Add Network Locality.
- In the Network Locality Name field, type a unique name.
- In the Network Locality Type section, select Internal or External, based on the classification you want to apply to the IP addresses and CIDR blocks.
- In the IP Addresses and CIDR Blocks field, type the IP addresses and CIDR blocks you want to add to the locality. You must enter a unique range of addresses or blocks.
- (Optional): In the Description field, type information about network locality.
- Click Save.
- To add more entries, click Add Network Locality.
Next steps
- Filter devices by selecting Internal or External as the Network Locality Type in the trifield filter.
- Filter devices by specifying the Network Locality Name in the trifield filter.
- Drill down on a metric by client, server, or IP address and select Internal or External as the Network Locality in the trifield filter.
- Filter records by specifying one of the following filters:
- Network Locality Name
- Client Network Locality Name
- Server Network Locality Name
- Sender Network Locality Name
- Receiver Network Locality Name
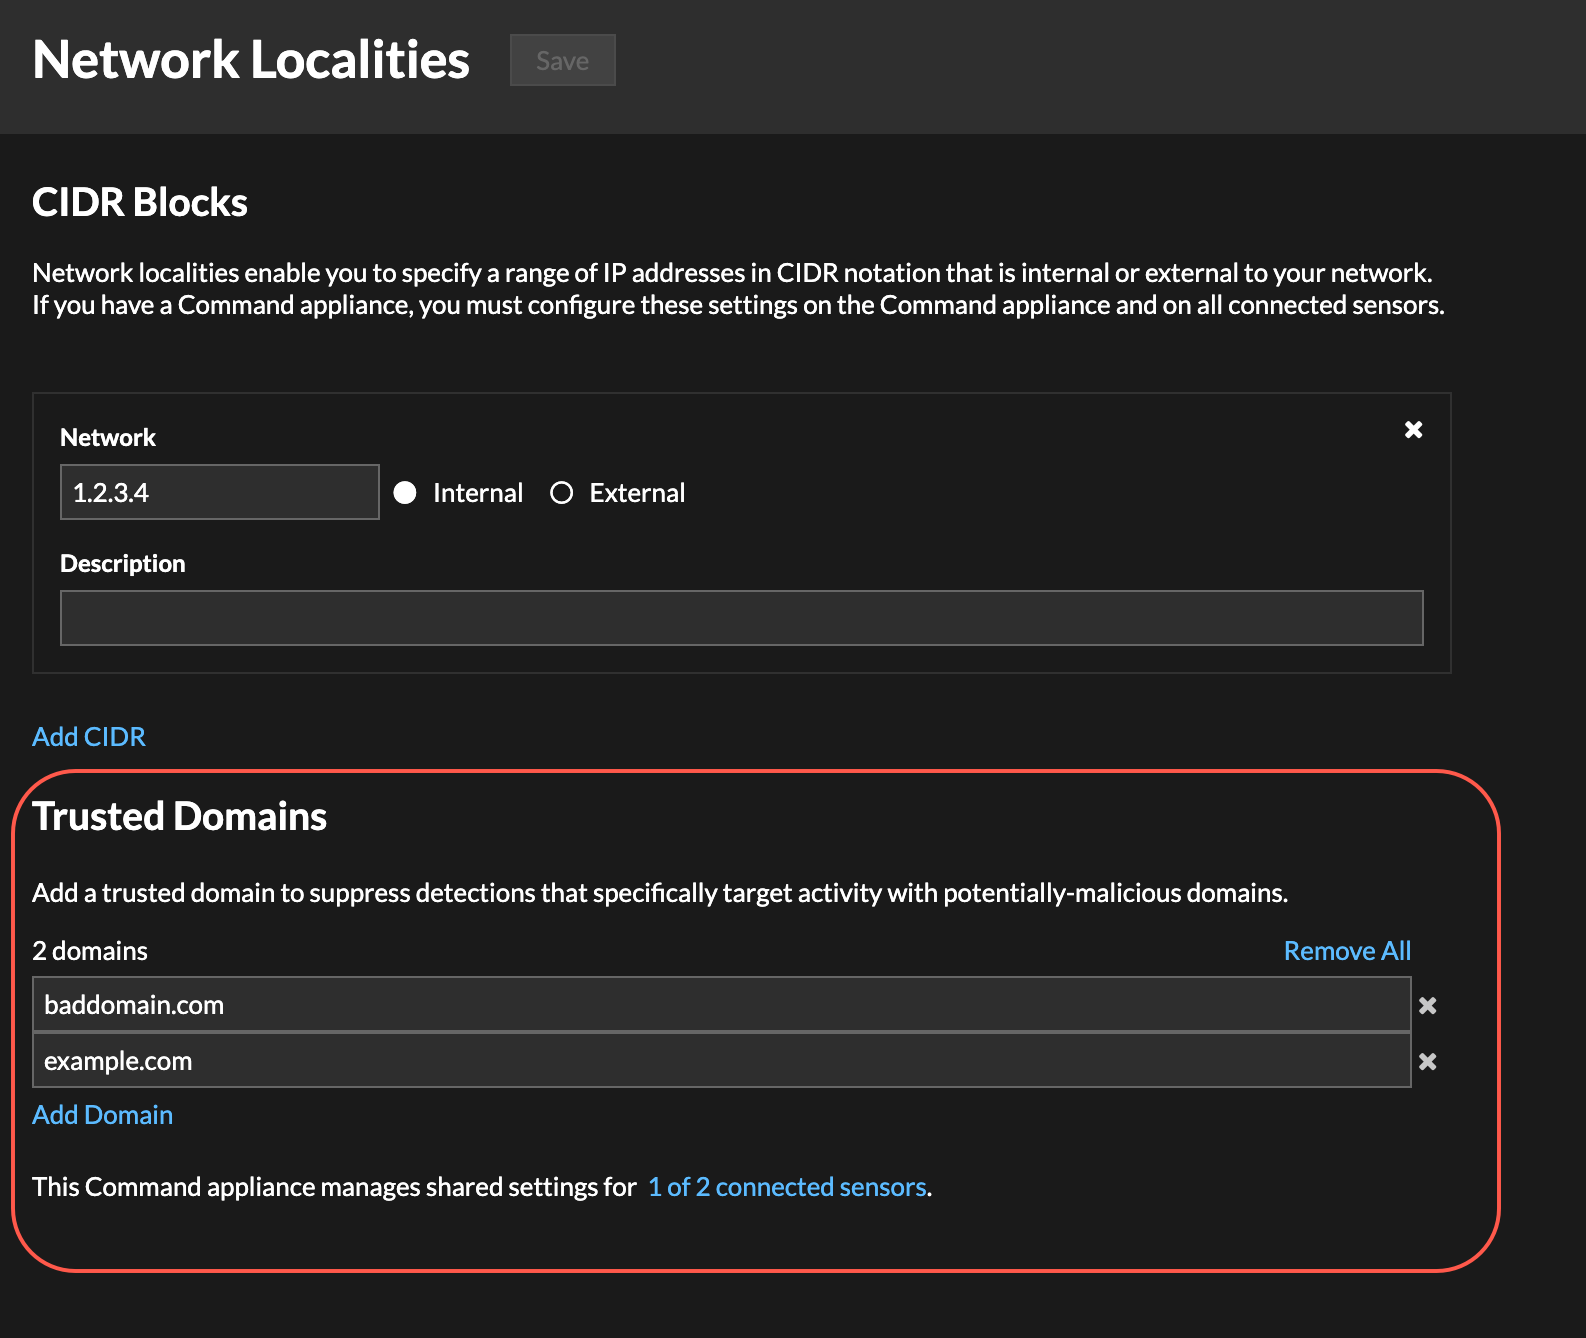
Add a trusted domain
Certain detections are generated when a device makes a connection to an external domain. If you know that a domain is legitimate, add it to the Trusted Domains list, and future detections that target malicious domain activity are suppressed for that domain.
For detections that have an associated domain, you can also add a trusted domain directly from a detection card.
| Note: | If your ExtraHop system includes a console, and that system is configured to manage tuning parameters, these trusted domains will apply to all connected sensors. |
-
Click the System Settings icon and then click Network
Localities.
Thank you for your feedback. Can we contact you to ask follow up questions?