Create a recordstore cluster
For the best performance, data redundancy, and stability, you must configure at least three ExtraHop recordstores in a cluster.
When you create a recordstore cluster, be sure to deploy all nodes, including
manager nodes, in the same location or data center. For more information on supported
recordstore cluster configurations, see Recordstore cluster guidelines.
| Important: | If you are creating a recordstore cluster with six to nine nodes, you must configure the cluster with at least three manager-only nodes. For more information, see Deploying manager-only nodes. |
In the following example, the recordstores have the following IP addresses:
- Node 1: 10.20.227.177
- Node 2: 10.20.227.178
- Node 3: 10.20.227.179
You will join nodes 2 and 3 to node 1 to create the recordstore cluster. All three nodes are data nodes. You cannot join a data node to a manager node or join a manager node to a data node to create a cluster.
| Important: | Each node that you join must have the same configuration (physical or virtual) and the same ExtraHop firmware version. |
Before you begin
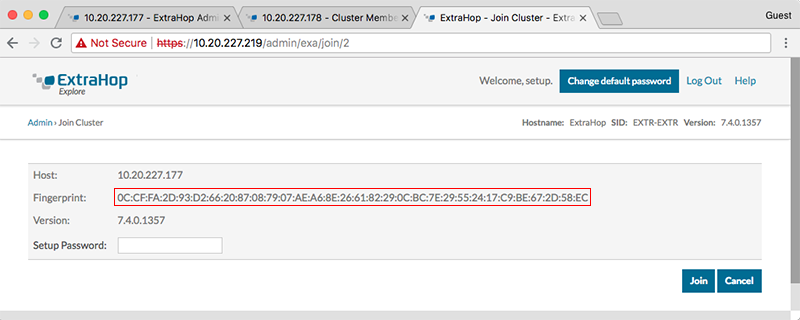
You must have already installed or provisioned the recordstores in your environment before proceeding.-
Confirm that the fingerprint on this page matches the fingerprint you noted in
step 3.
-
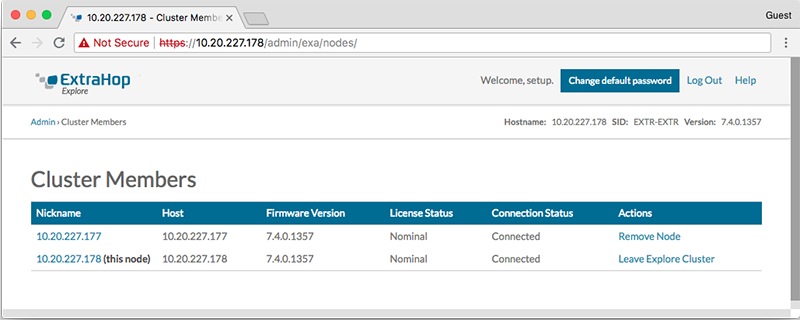
Click Cluster Members.
You should see node 1 and node 2 in the list.
-
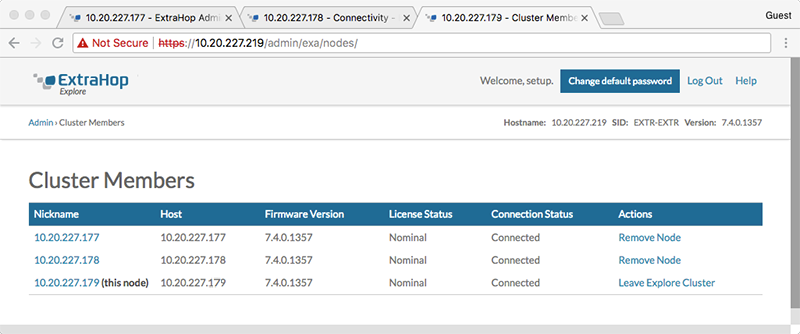
When you have added all of your recordstores to the cluster, click
Cluster Members in the Explore Cluster
Settings section.
You should see all of the joined nodes in the list, similar to the following figure.
Recordstore cluster guidelines
The following table shows recommended guidelines for recordstore cluster configuration.
| Number of Data Nodes | Supported Cluster Composition |
|---|---|
| 1 or 2 | Not supported |
| 3 | 3 Mixed (Traditional Data + Manager) Nodes |
| 4 | 4 Mixed (Traditional Data + Manager) Nodes |
| 5 | 5 Mixed (Traditional Data + Manager) Nodes |
| 6 | 6 Dedicated Data Nodes + 3 Dedicated Manager Nodes |
| 7 | 7 Dedicated Data Nodes + 3 Dedicated Manager Nodes |
| 8 | 8 Dedicated Data Nodes + 3 Dedicated Manager Nodes |
| 9 | 9 Dedicated Data Nodes + 3 Dedicated Manager Nodes |
| 10 or more | Not supported |
Thank you for your feedback. Can we contact you to ask follow up questions?