Configure the iDRAC IP address with a monitor, keyboard, and mouse
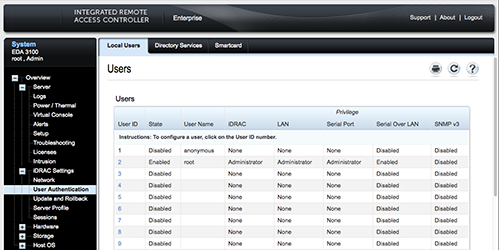
Remote access to the ExtraHop system is available through the Integrated Dell Remote Access Controller (iDRAC). In environments where DHCP is not available, an IP address can be assigned to the iDRAC either through the front panel controls or by attaching a monitor, keyboard, and optional mouse to the appliance and then making changes through the System Setup utility. After the IP address is configured, additional configurations can be made through the iDRAC web administration interface.
- To configure the iDRAC IP address through the front panel controls and configure additional iDRAC settings, see Configure the iDRAC Remote Access Console.
- For more information about the iDRAC, see the Integrated Dell Remote Access Controller documentation at http://dell.com/support/manuals.
-
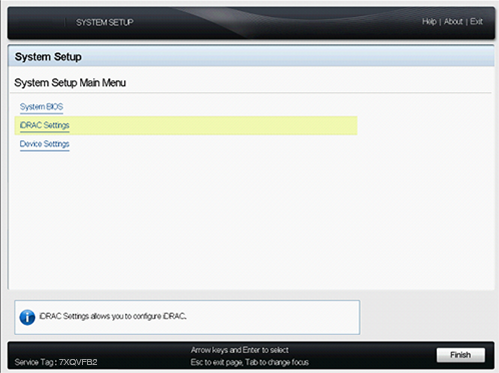
From the menu, select iDRAC Settings.
-
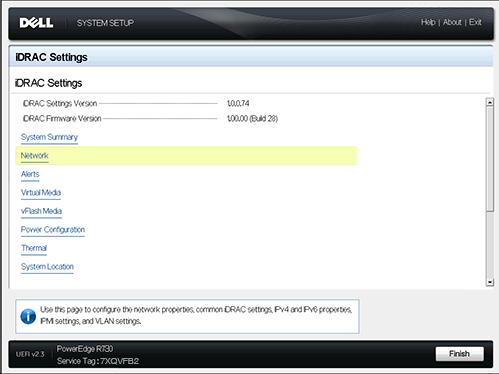
On the iDRAC Settings screen, press the arrow key or mouse button to select
Network.
-
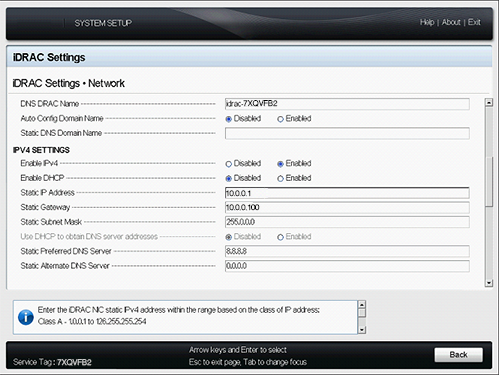
Scroll down to IPV4 Settings, and complete the following
fields:
- Static IP Address
- Static Gateway
- Static Subnet Mask
-
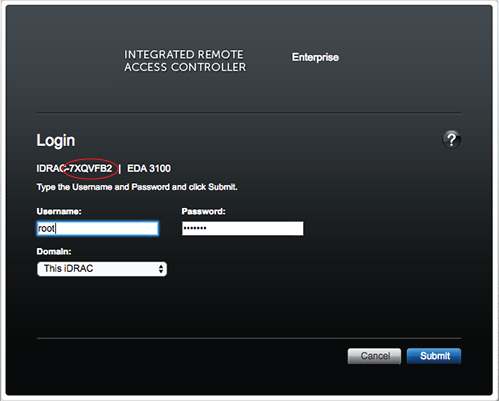
In a web browser, type the iDRAC IP address and log in with the username
root and the password, which is the service tag number
listed on the login screen or on the pull-out tag at the front of the appliance.
The password is case-sensitive.
- (Optional):
Change the root user password in the section.
You can now access the iDRAC web interface from any web browser through the assigned
IP address.
Thank you for your feedback. Can we contact you to ask follow up questions?